Artwork and Colorway Planning for a Live Sneaker Bar
What actually happens at a sneaker station — from the creative menu you lock before doors to the finished pair a guest walks away wearing.
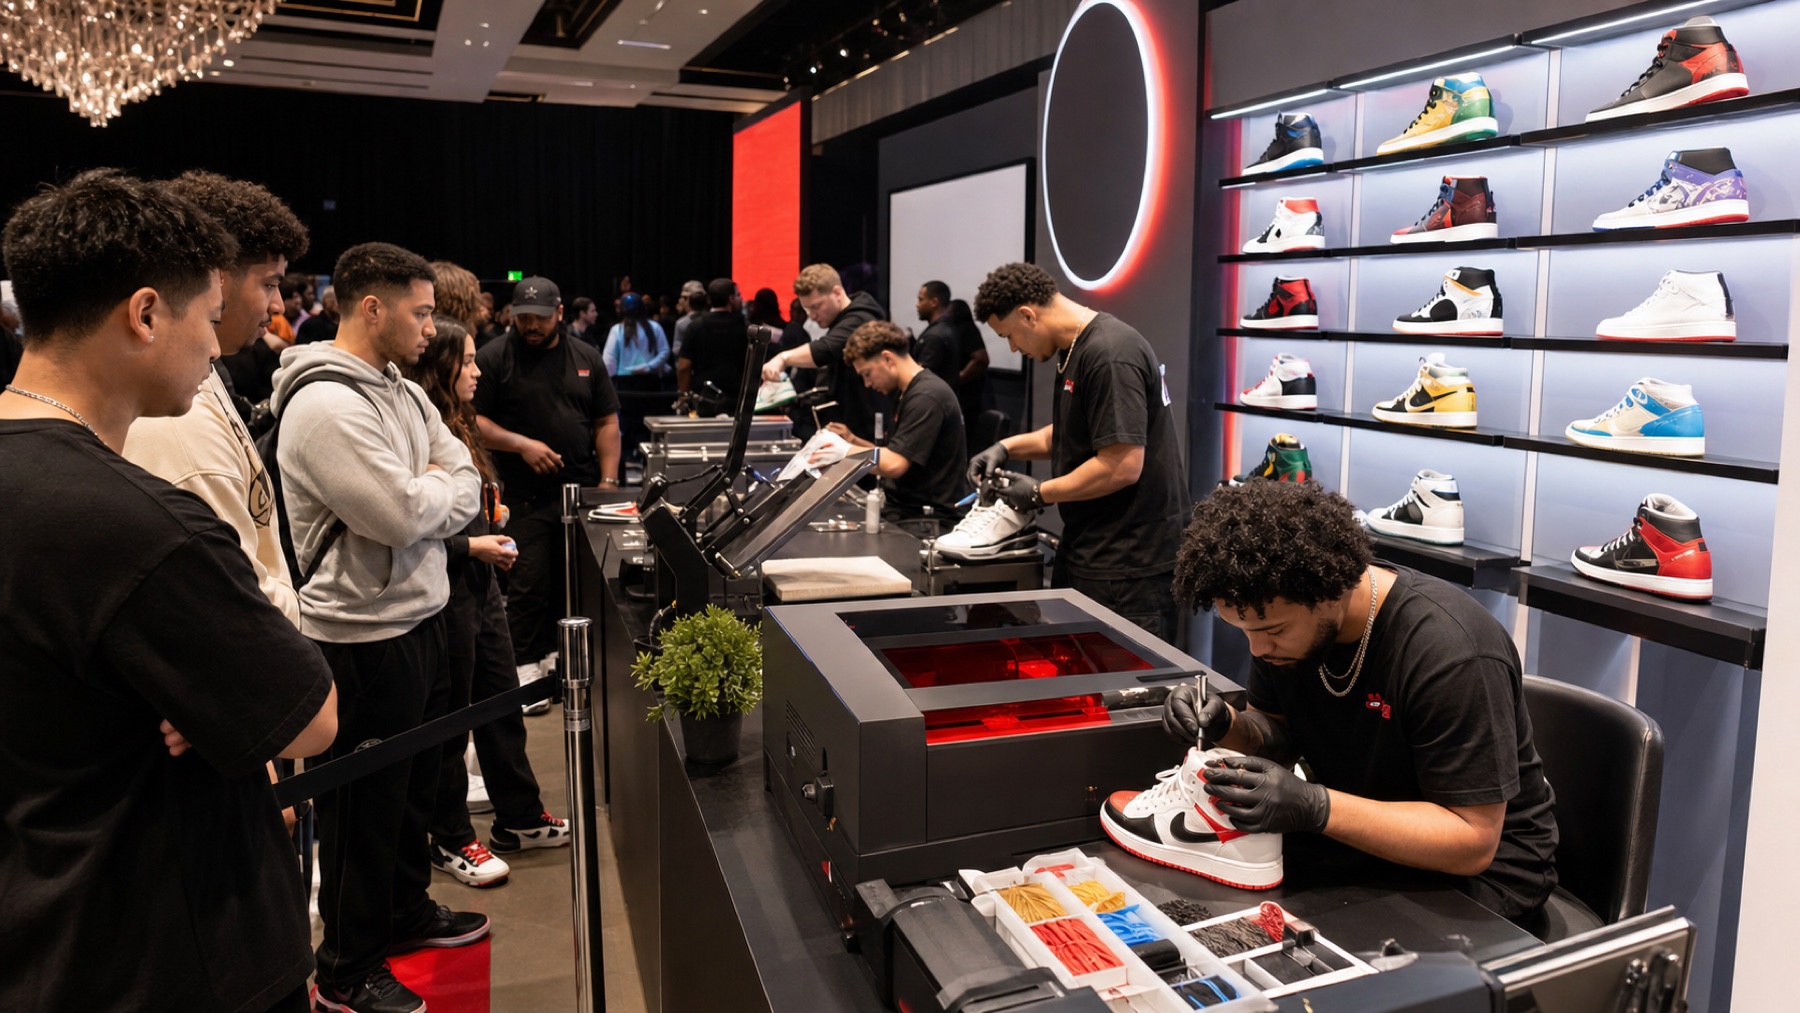
Blanks First
Choose the blank before anyone draws
The hard part of a live sneaker bar is not the press. It is that you are decorating a three-dimensional object that already has a color, a texture, a logo and a seam running through the spot where the art was supposed to sit. Good sneaker customization artwork and colorway planning starts from the shoe and works backwards — not from a brand deck and forwards.
This is the order we work in, and the places brand decks usually break.
A white canvas low-top is the friendliest surface in the category. Flat panels, a cotton weave that takes a transfer cleanly, and enough real estate on the lateral side for something that photographs. A leather trainer with a molded heel counter and aggressive curvature is a different job entirely, with less usable flat area and more places for a transfer to lift.
Color changes the artwork, not just the mood. DTF transfers lay a white underbase, so a bright design holds up fine on a black or navy upper — but any element that relied on the shoe showing through simply stops existing. Knockouts become invisible. Thin outlines become the whole design. If the blank is not white, every shape needs a solid fill or a deliberate outline, and somebody has to redraw it.
Pick two blanks, three at most, and get a full size run in each. Every extra blank multiplies the proofing you owe yourself and the inventory you have to freight.
Placement
The zones that actually work
There are four placements worth planning around, and one worth skipping.
- Lateral panel. The outside of the shoe. Biggest usable area, and the one that appears in every side-on photo anyone takes. This is where the hero art goes.
- Heel tab and counter. Small, roughly one to one and a half inches, and slightly curved. Perfect for a logo, a date, or initials. Reads well in a walk-away shot.
- Tongue. Flat, easy to press, small. Good for a sponsor mark or a year.
- Toe box. Curved and creased in use. Use it only for something small and forgiving.
The medial side — the inside face — is not worth spending art on. Nobody photographs it. Keep everything clear of seams, eyelet rows, and the join where the upper meets the foxing tape or midsole. A transfer that laps onto rubber will peel, usually within a week, and the guest remembers that longer than the event.
Laser work follows different rules; if you are weighing the two, our breakdown of DTF versus laser engraving on sneakers covers where each one wins.
File Prep
What a press-ready file looks like
Vector where you can. Where you cannot, raster at 300 dpi at final print size — a 300 dpi file scaled up 400 percent is a 75 dpi file wearing a costume. Transparent PNG with real transparency, not a white rectangle you cannot see against a white artboard.
A few limits worth designing to:
- Minimum stroke around 1.5 pt at final size. Hairlines vanish into canvas texture.
- No soft drop shadows or glows fading to nothing. A transfer gives you a hard edge, and a faded edge just looks dirty on the shoe.
- Text outlined, and nothing smaller than about 8 pt equivalent.
- Files named by placement, supplied at final size.
And the one everybody forgets: mirrored pairs. If your art contains text or any directional element, it needs a left version and a right version. Press the same file on both shoes and one of them reads backwards on the lateral side. Build both, name them clearly, and check them on a physical pair before the event.
The Matrix
Build a colorway matrix, then cut it
Write out every combination you are actually promising. Three designs across two blanks across two placements is twelve distinct outcomes, and each one deserves a physical proof. Screen approvals do not catch the failure you care about — the navy in your logo disappearing against a navy upper, or a warm cream reading dingy on optic white canvas.
Work the schedule backwards from that. Artwork locks about ten business days out; you want files two to three weeks before that if you want proofs pressed on the real blanks and time to fix what you find.
Then cut the guest-facing menu down. Four to six designs plus one personalization field is the sweet spot. A heat-press station clears 60 to 90 finished pieces an hour on flat goods, and sneakers run slower because each shoe is handled on its own and there are two per guest. Choice paralysis is the most expensive thing on your floor. If you want range, rotate the set every couple of hours instead of showing it all at once — the same trick works for the activation formats in our brand activation guide.
Say No
Artwork that will not survive
Some art is worth pushing back on before it ever reaches a press:
- Gradients fading to transparent. They band, and the fade edge picks up texture.
- Photographic images on a coarse canvas weave. Detail disappears into the fabric.
- Large solid blocks across a flex zone. The toe crease will crack a big solid over time.
- Patent leather, heavily coated, or water-repellent uppers. Transfers do not bond reliably to those finishes.
- Open mesh and engineered knit. The transfer bridges the holes and stiffens the panel.
- Exact Pantone matching on a colored upper. You can get close; you cannot promise a match.
None of these are dealbreakers for the activation — they are reasons to move the art to a different zone, simplify it, or switch that element to engraving.
FAQ
Frequently asked questions
How many designs should we offer at a live sneaker bar?
Four to six, plus one personalization line. That is enough that guests feel a real choice and few enough that they decide before reaching the front. If you want more variety, rotate the design set every couple of hours rather than showing everything at once.
Can you print on a colored or dark sneaker?
Yes. DTF transfers lay down a white underbase, so colors stay bright on a black or navy upper. What changes is the artwork: any element that relied on the shoe color showing through has to be redrawn as a solid or outlined shape.
When does sneaker artwork need to be final?
Lock artwork about ten business days before the event. Get files over two to three weeks earlier than that if you want physical proofs pressed on the actual blanks, which is the only reliable way to see how a color behaves on a particular upper.
Next Step
Send us the deck early
Send the art direction and the blank you have in mind and we will tell you what presses cleanly, what needs redrawing, and what to proof first. See pricing for station packages or browse services for the full range of on-site finishing. Ready to hold a date? Request a quote or call (562) 614-4800.